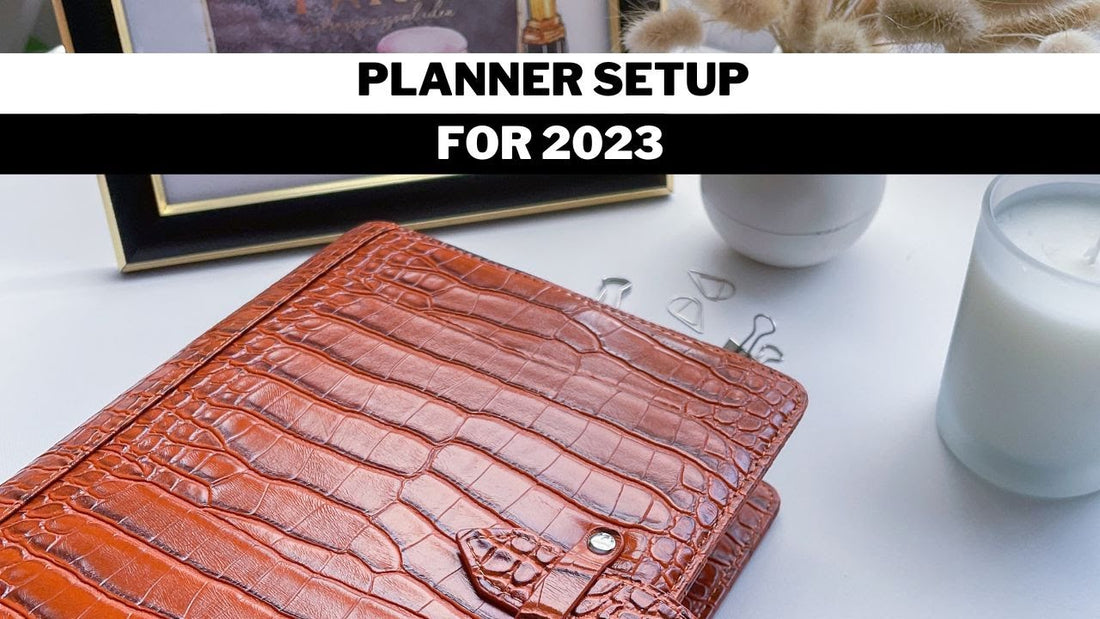
Planner Setup for 2023 and Flip Through
Share
[VIDEO TRANSCRIPT]
Planner Setup for 2023 and Flip Through
Hello my friends, I hope you're doing well. In this video I am going to show you my planner setup for 2023 which will include a flip through of my planner.
If you're new here hello, my name is Tonya and I make videos on functional and practical planning. I hope that you will show your support by hitting the like button and I would love it if you would subscribe.
This binder has a slight snap closure. I like the slide closure because I'm able to adjust the width of the binder big or small however I like it. Sometimes I like to slip receipts in here.
So on the inside you will see two pen loops that are elasticized in the back. And in these two pen loops, I have a green dot marker and I'll show you how I use this in a moment. I have my favorite ink pen. This ink pen is actually sold in my shop. I love the cushion grip here and how dark it writes.
So this binder has lots of organization, there is a pocket here that goes all the way down to the spine. Here I have a sheet of stickers. They are little telephones and I like using those little telephones to draw attention to when I need to call someone.
So in this binder, there is a pocket that goes all the way down to the spine. And the separate part of the zipper here is gusted when it comes out and in here, I just have a couple of paper clips in case I need them.
There's also a pocket here and there are multiple card slots in the same blue card slot. Here I have a card with my name on it. I had cards in here, but I took it out for privacy purposes for this video. So I just stuck some blank cards in here.
This binder also comes with a fly leaf with a pen loop as you see here. And in the pocket divider here I have some page flags and I also have some book darts.
This is my green highlighter. I use this whenever I am dealing with something with money in my planner.
On the back of this flyleaf there are additional card slots, and this flyleaf has oblong holes, so they'll easily go over the rings.
Next, I have a clear transparent page lifter. If you need extra page lifters, I sell them in my shop. Most of the items that you see in this video are found at Tonyaplans.com. And you can save money with the discount promo code Tonyaplans20.
So I like to use these transparent clear page lifters and I have one on the back here and I have one in the middle of my planner pages, which I'll show you in a minute. If you put these on the outside of your planner pages, they will protect your planner pages from getting frayed.
So what I have here are two annual calendars. This is 2023 and 2024. I took this dot marker and marked my pay dates for the year. So if I'm trying to figure out when I'm going to pay a bill or plan something money wise, I can come here and reference this and I know when I'm going to get paid.
So next on the back of this I put a key. Pretty much you'll see things highlighted in my planner: green means money related, which I just showed you the highlighter for that, gray is work related, this color is business related and this color is personal.
Then I have my tab dividers here all up front because I like my monthly pages to be in the front of my planner. Some people like to collate their monthly pages throughout their planner, it's just a habit for me where I'm used to having all the monthly pages in the front. And when I say monthly pages in the front, I'm referring to these pages, which I'll show you in a moment.
So for each of these tabbed dividers, I like them because they're waterproof, they're sturdy, and they're minimalistic, and they have the month here. So if I need to refer to the month at a glance, I can use that there. And to add some beautification to my planner and add some pops of color, I've added these fellows, so you'll see the different volumes as I flipped through the planner here.
So with these planner pages, I included an overview page for each month. I think that this is a great way to do pre planning before the month begins. I really love this because it gives me the opportunity to think about how I want my month to go and some things that I would like to accomplish for the month. These are my intentions.
So I have these sections divided out. So for the month of January for work, I want to accomplish these things. For example, I work in an accounting department. And right now, we're focused on the accounting year in close, I got to worry about some auditor requests, and I need to write up my performance review this month.
I have some personal goals here that I want to start this month. I have goals for my business here. And here are some things here that I would like to accomplish as it relates to my money. For example, I know in January I have a life insurance bill that's due. I only pay it once a year and it's due in January, so I write it on the overview page.
So this is my monthly spread. It is a month spread across two pages. I really liked the minimalistic design because it allows me to add color to the way I see fit. If these were pre colored, I will have to go along with whatever color the planner came with. So if this color was green then I would feel forced to use stickers that coordinate with the color green or highlighters that coordinate with the color green. So I really liked the minimalistic design that we have here. And it also has horizontal lines on this planner to keep your handwriting straight.
So a few things I have on this monthly spread is that things deal with money as I mentioned before in green. So I've marked my paydays here. I have a note here to skip a subscription. I have a note here that I'm off from work this particular day. I have different appointments. I have a board meeting on this day. And here I have some notes on a couple of bills that are due.
Each month pretty much looks the same. So I won't be flipping through all those, but I will show you the valves that are on the front of each tab if you're interested. So this is February and March. If you decide to get vellums like this, you can put them all in whichever month that you like, I just love how beautiful that looks. I think the vellums look very professional. And it's just the right amount of color, especially for adults and professional settings like I am. So this one has tulips on it. This one has a red flower, this one has a look like autumn sunflower, and this one is suitable for Christmas time.
So in the next section here, I want to show you this. So this is a dashboard that I used to separate the next section. Let me show you this up close. This is a world map design and it's sold in my shop. I actually just listed it in the shop. This one has rose gold foil on it, and I think it is very, very pretty. We also have ones without the foiling on it, which I'll show you in a moment.
So this is my weekly section. So let me show you a weekly section with no writing on it. So this is how the weekly section looks: there is a column for Monday, Tuesday, Wednesday, and so on and so forth. Saturday and Sunday have their own column. A lot of planners will make Saturday and Sunday share a column. But I found that some people work on the weekends, or some people have really busy weekends. So I felt it was more beneficial to have Saturday and Sunday broken out.
The time starts at 6am and ends at 9pm. And there's a whole column over here that can be used and space at the bottom that can be used for lists and for stickers, decoration, functional planning however you like.
So here's an example of a spread: a lot of my planner pages have personal things on them, but I can show you this one. So when I start planning out what I tend to do, I like to block off time. And as I read more and more productivity books, they say this format is most helpful to be productive. So when you block off your time, you're setting time aside for particular tasks. And as you can see here are blocked off time for work. I blocked off a section for lunch here. I had a community service event right here that I blocked off and a doctor's appointment written in here.
So when I start the week is really minimalistic, you won't see all of these things on here, you'll just see where I blocked off some things. And I like to start the week, we're having a list of things I would like to accomplish for the week. So I have a personal list here. I have a list for my kids, I have a list for work, business and things I want to do later. So for example, I'm always working on a home project. And I live in an old home.
So sometimes I'll think of things that need to be done. I don't want to do it today. I don't want to do it this week, but I kind of put it on my later list. So it's kind of a reminder to come back to it and try to schedule it later on my planner for this week. I had to order some forms for the kids. I have here that I want to do a little additional research on colleges for work, I had some things that I needed to do like work on documenting some processes. And for business, I had some things that I have written in there, there is a space at the top where you can write about any events that are going on all day. So here I've written about a movie that I wanted to see that would be released on this particular day. Sometimes up here I will write about people's birthdays. So when I'm going through my week I write in the black ink pen, but then I go back to fill in my planner pages a little more, I go and write a couple of sentences about what happened that day. So that's what I do here in the brown pen, and I just write around what I've already blocked off. So that's what you see there.
For example, I wrote here that I couldn't wait to see a movie. For this particular week I wrote about the weather at the top here. That's very beneficial because it helps me plan my days. I'll know what I'm wearing. I'll know if I need to leave early if it's raining. So I really like putting in the weather at the top there and here is another spread. So in my next section, I call this my journaling section. So this is how the pages look blank. Some people like the vertical format. I love the vertical format so when I say vertical. This is what I mean, this is the vertical planner format, and this is called a horizontal planner format and some people like this. So this is included in the TP planner pack you get both. Where most planner companies make you choose which format you want, with this one you get both. However, with the vertical format, those are predated and the horizontal format is not; and the reason why is because I wanted the flexibility to be able to use these planner pages for journaling or to be able to use them when needed.
So you have a section here where you can write an overview for the week. And what I did was I journaled each day. So I wrote a few sentences about what happened or what I was feeling. So there's Monday, Tuesday, Wednesday, Thursday, Friday, Saturday and Sunday.
So in this next section, I am showing the world dashboard, and this one is unfoiled. And this marks the beginning of my notes or daily pages. My planner set up some pages that I wanted to make sure I had set aside in my planner. So on this page, I designated it for future planning. So if I get a date that is out in the future, I will write it here. Or if there is a date that I want to remember, like I wrote down the date, my husband got his kidney transplant, and it's a good way to keep up with how long he's had it. I also have here that I need to pay sales tax on the 20th. And this is the page that I come back to. So, when I start a new planner next year, I will come here and be able to write on these dates. So because these are things that will be happening in the future.
On this page are designated for auto I wrote in the last time I had an oil change. And when I had a repair done to my car, this page was designated for dinner ideas. Over here I wrote a page for names because I'm bad at remembering names. For example, I wrote down the name of the person who I liked doing my nails. This is a page designated for gift ideas. When it comes time for gift giving, I had the worst time trying to think of what to give people, but they give me hints all along. So if my husband might mention something like “Oh, I like that radio” or something like that, I can come here and just jot down the section designated for movies.
I don't watch a lot of movies or a lot of TV, to be honest with you. I'm a reader. So, I spend a lot of time reading. When I do catch a movie, I like to kind of jot it down so I can remember what I thought about the movie just fine. And then I give it a star rating here.
Sometimes I have a lot going on in one day and I need to make a list of that day. This is a list of what I need to do on a particular day. I separated this list by a personal, 10-minute cleanup section, what I want to do later, business items, kids and things that I need to buy.
So this next section or dot grid pages, which are also included in a planner here, I plan to draw out some designs like specifically future planner designs.
By the way, if there's something in particular, you're looking for in a binder, please let me know in the comments, I will certainly take that into account when we design future planners.
Then I have a page lifter here. I really like using these page lifters because they're sturdy, and it is a way to separate things. So I know that this section is my social media section. So in this section, I do social media planning. Here I use these page flags to write and some things that I plan to do for social media marketing. I use the page flags because I change around a lot of what I plan to do with social media. I work full time so sometimes I have to move back a post that I wanted to do or move back a planner video I wanted to do because of competing priorities. So that's why I like to use sticky notes when I do social media planning. Plus, I felt I wanted a separate section for social media planning because I posted on so many platforms.
If you didn't know I'm on Instagram at Tonya_plans.Make sure you use the underscore to find me I would love it if you will follow me there and I'm also on Facebook and if you look for me on Facebook, don't look for Tonyaplans but look for TonyaplansFranklinCovey blogger. I'm actually going to change the name of that Facebook page soon but that's how you can find me right now. I posted a little bit on Twitter. I posted a little bit on Pinterest. I send marketing emails. There's a lot of moving pieces with social media so I felt I needed a separate section just for that.
In the back here I have some stencils and I love using these stencils because it makes my planner look neat. But that pretty much completes my planner flip through. I think my setup is very minimalistic and functional for me and I just love it.
If you have any questions about my setup, please let me know in the comments. And please don't forget to like this video. This is Tonya, helping you feel more organized so this can be your best year yet.